BSGateway is a proxy that analyzes LLM API requests and automatically routes them to the most cost-effective model. It provides an OpenAI-compatible API, so you can start using it with almost no changes to your existing code.
What BSGateway Does
- Request complexity analysis: Simple questions are routed to cheaper models, while complex reasoning goes to high-performance models
- Cost optimization: Reduce LLM costs by up to 60% while maintaining the same response quality
- OpenAI-compatible API: Just change the
base_urland keep using your existing OpenAI/Anthropic SDK code - Real-time monitoring: View per-model usage, costs, and response times on the dashboard
Quick Start (5 minutes)
Step 1. Sign In
Go to gateway.bsvibe.dev and click the Sign in with BSVibe button. If you don’t have a BSVibe account, one will be created automatically.
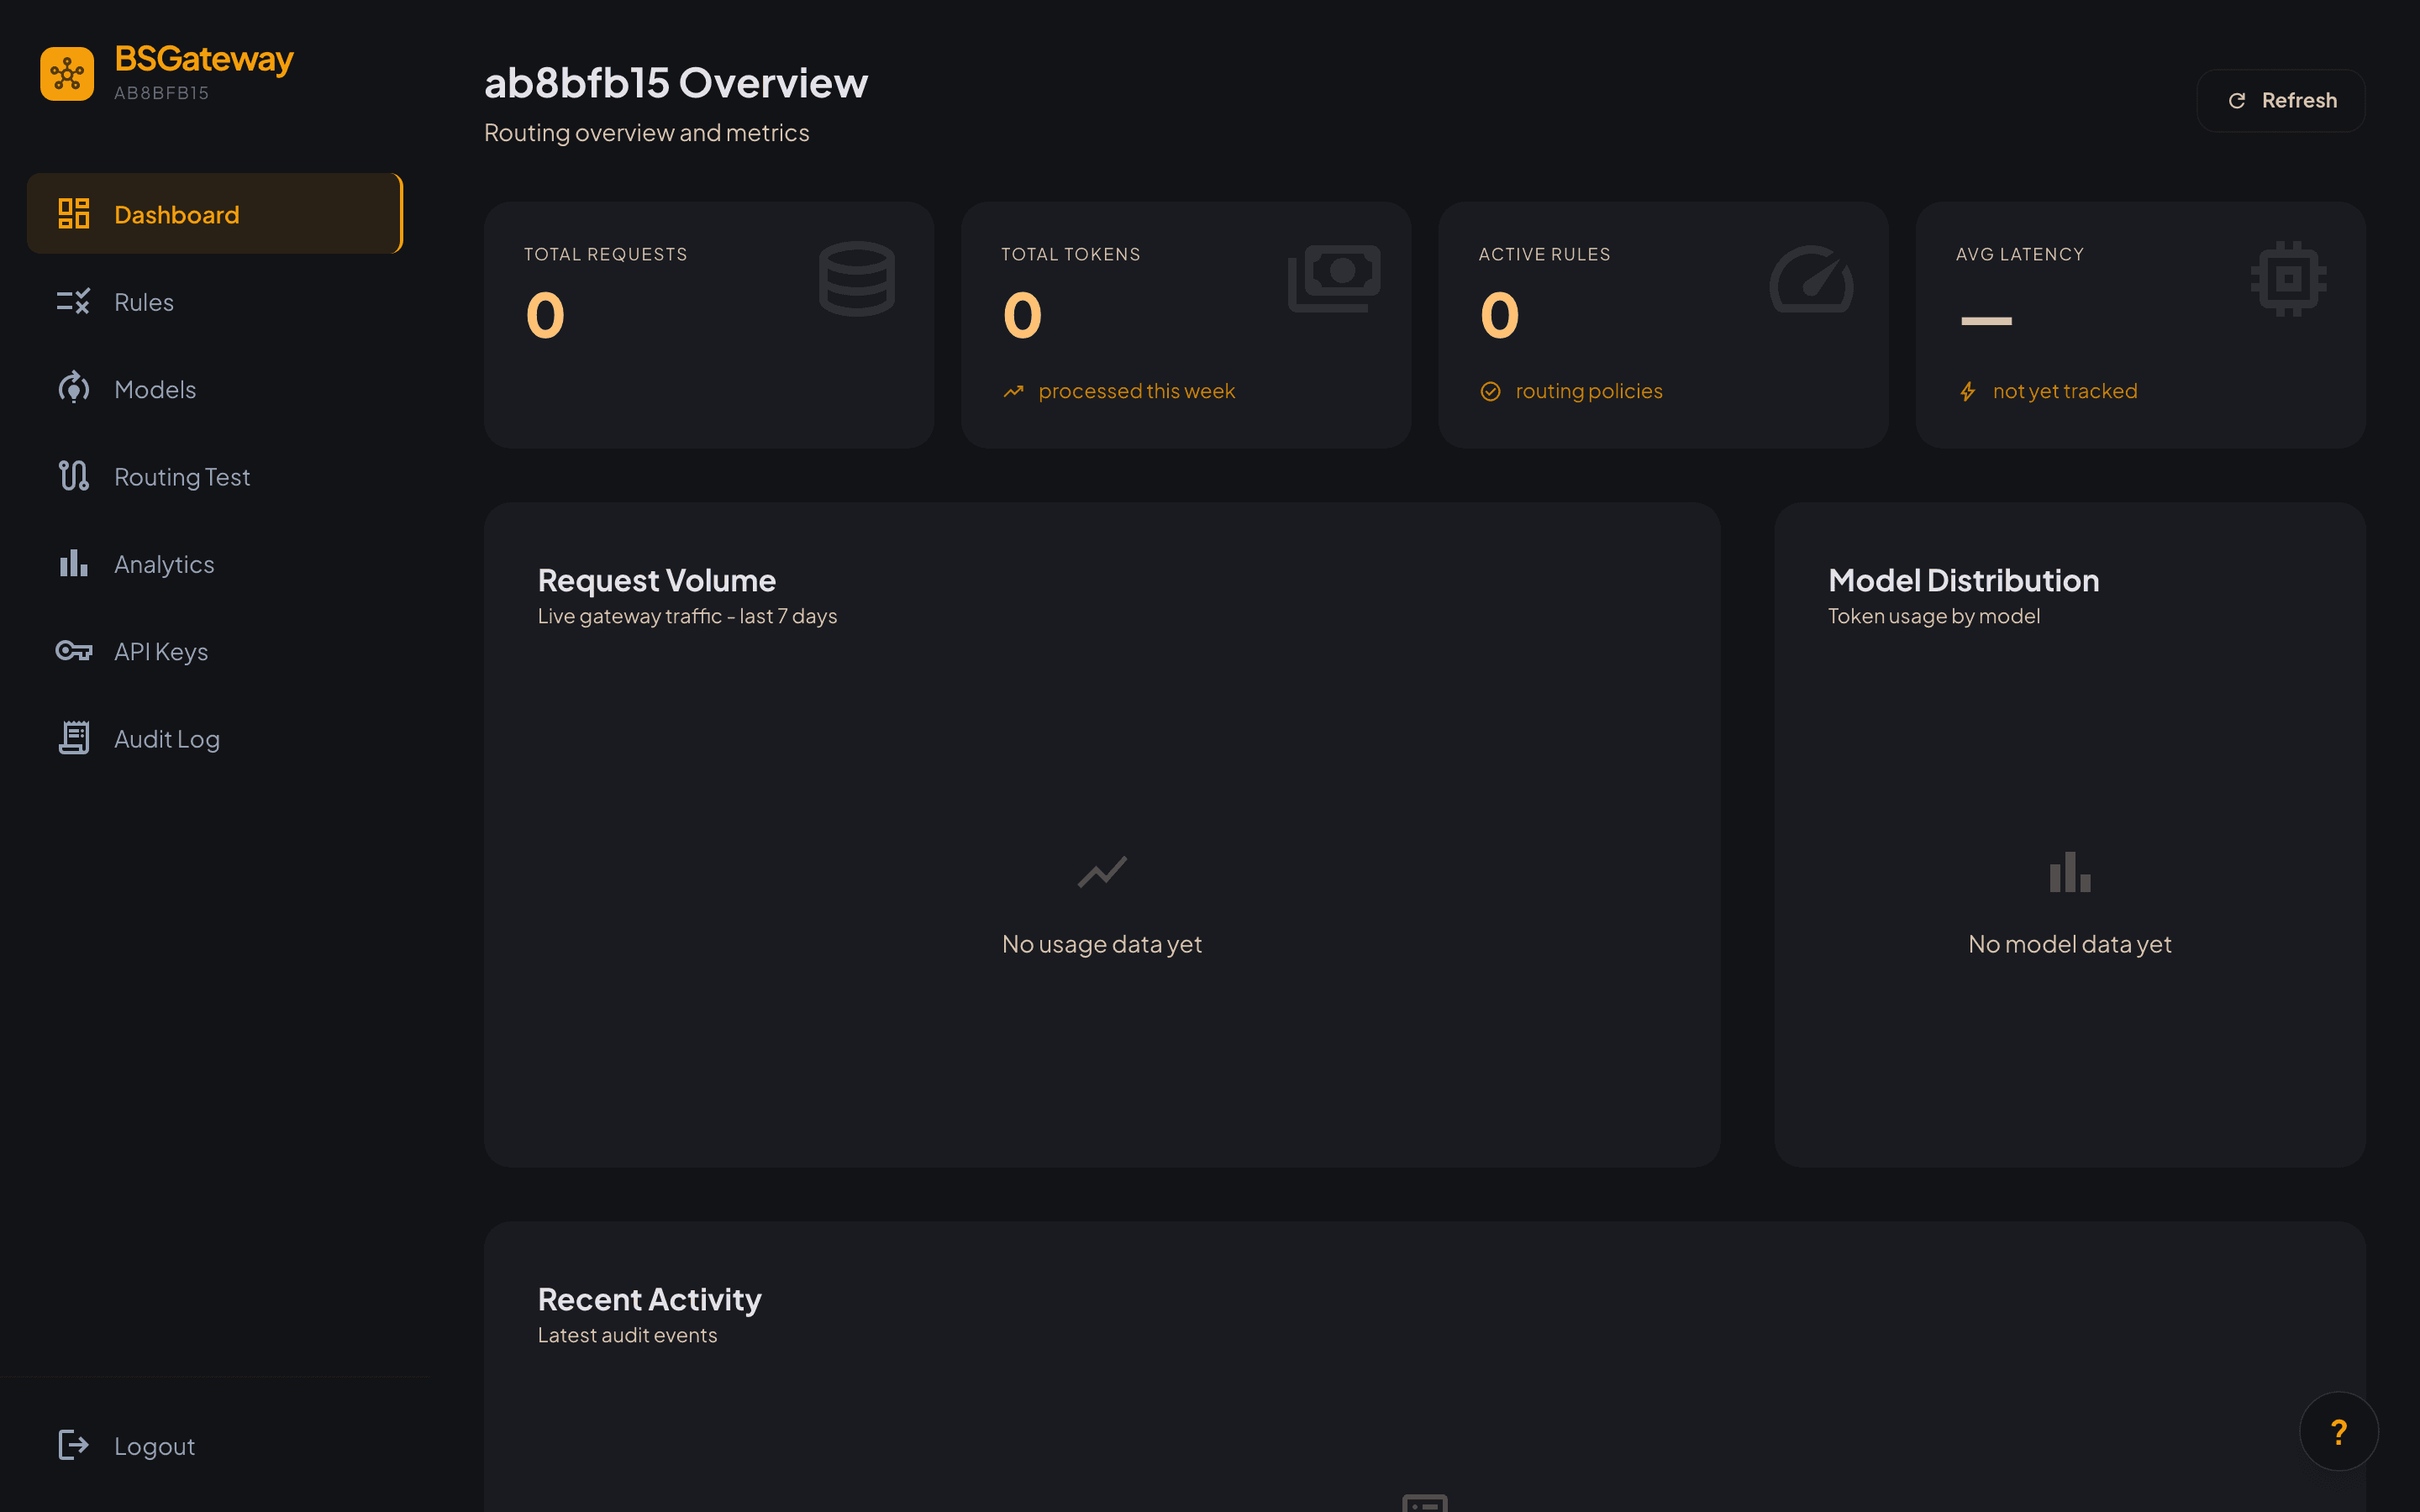
After signing in, you’ll see the System Overview dashboard. Use the left sidebar to access each feature:
| Menu | Description |
|---|---|
| Dashboard | Overview — request count, token usage, active rules, average response time |
| Rules | Create and manage routing rules |
| Models | Register LLM models and configure API keys |
| Routing Test | Simulate routing results with test requests |
| Analytics | Analyze usage, costs, and per-model distribution |
| API Keys | Issue and manage BSGateway API keys |
| Audit Log | View all API call records |
Step 2. Register Models
Click Models in the sidebar.
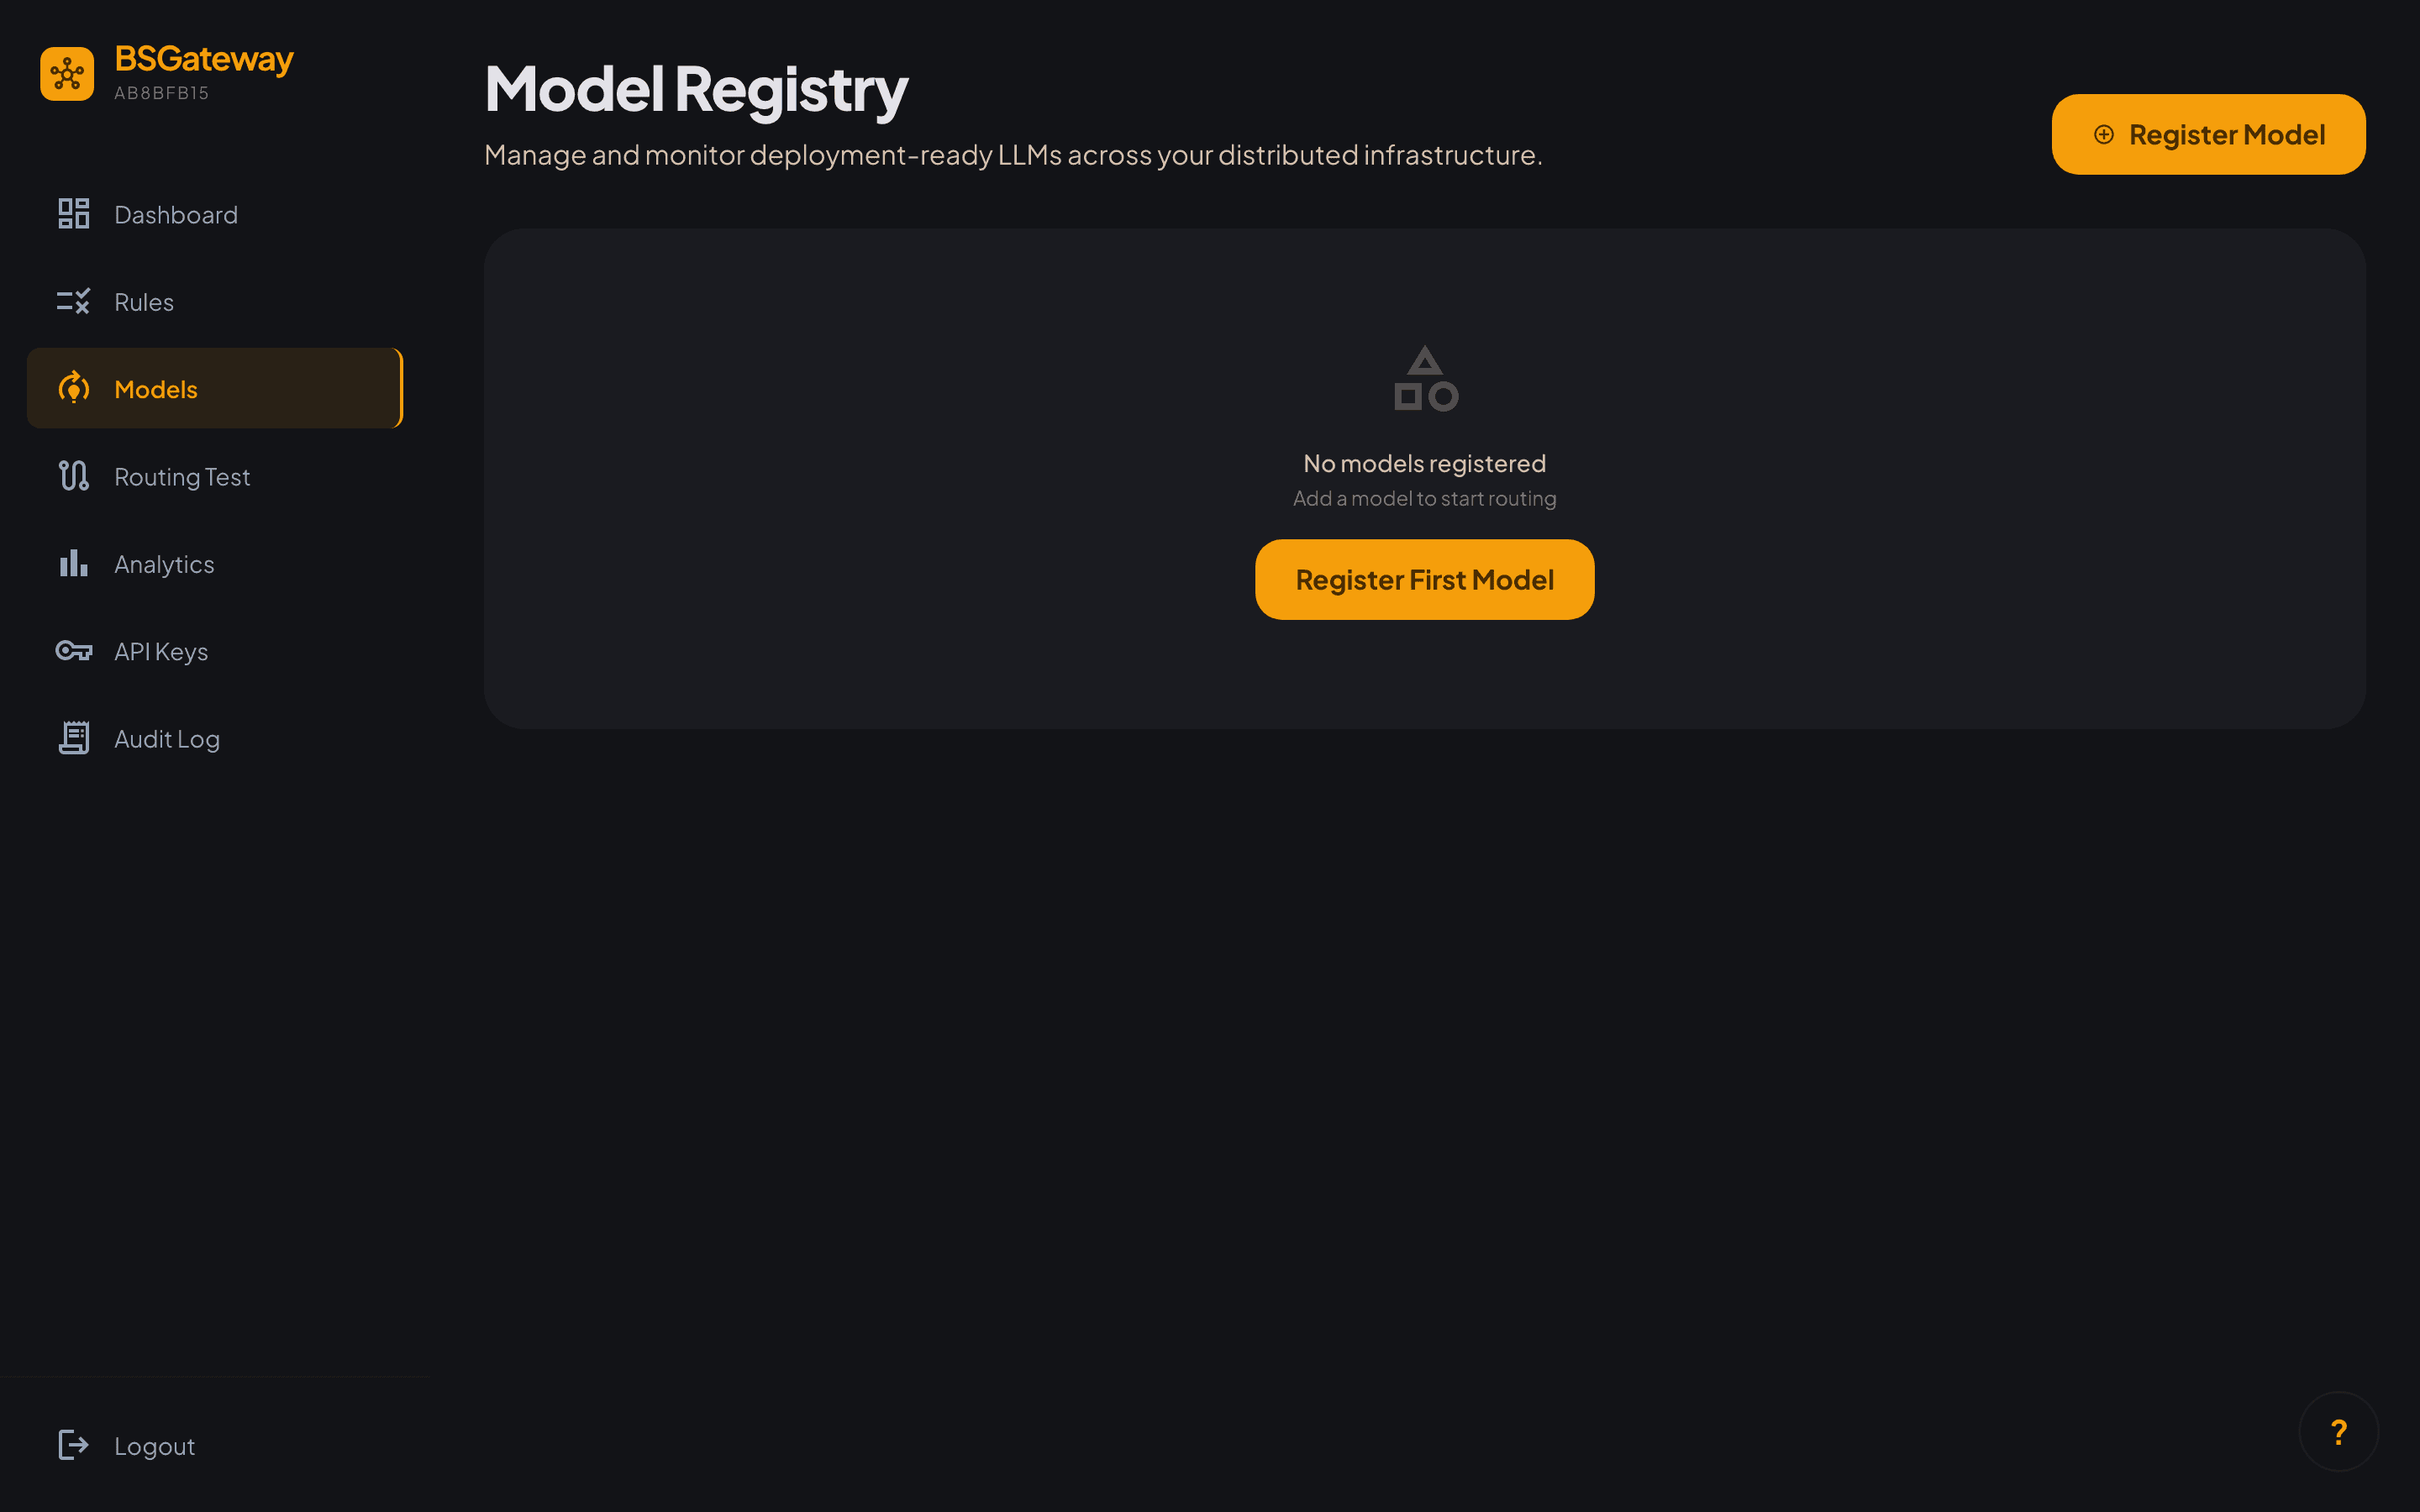
Click the Add Model button and fill in the following:
| Field | Example | Description |
|---|---|---|
| Provider | Anthropic | Select the model provider |
| Model ID | claude-sonnet | The name used when making requests |
| API Key | sk-ant-... | The key issued by the provider |
| Max Tokens | 4096 | Maximum output tokens (optional) |
API keys are encrypted with AES-256-GCM before storage. Even the BSGateway server cannot see the original key.
Registering multiple models allows the routing rules to automatically select the best one. We recommend registering at least 2 models (e.g., a low-cost model + a high-performance model).
Step 3. Issue an API Key
Click API Keys in the sidebar.
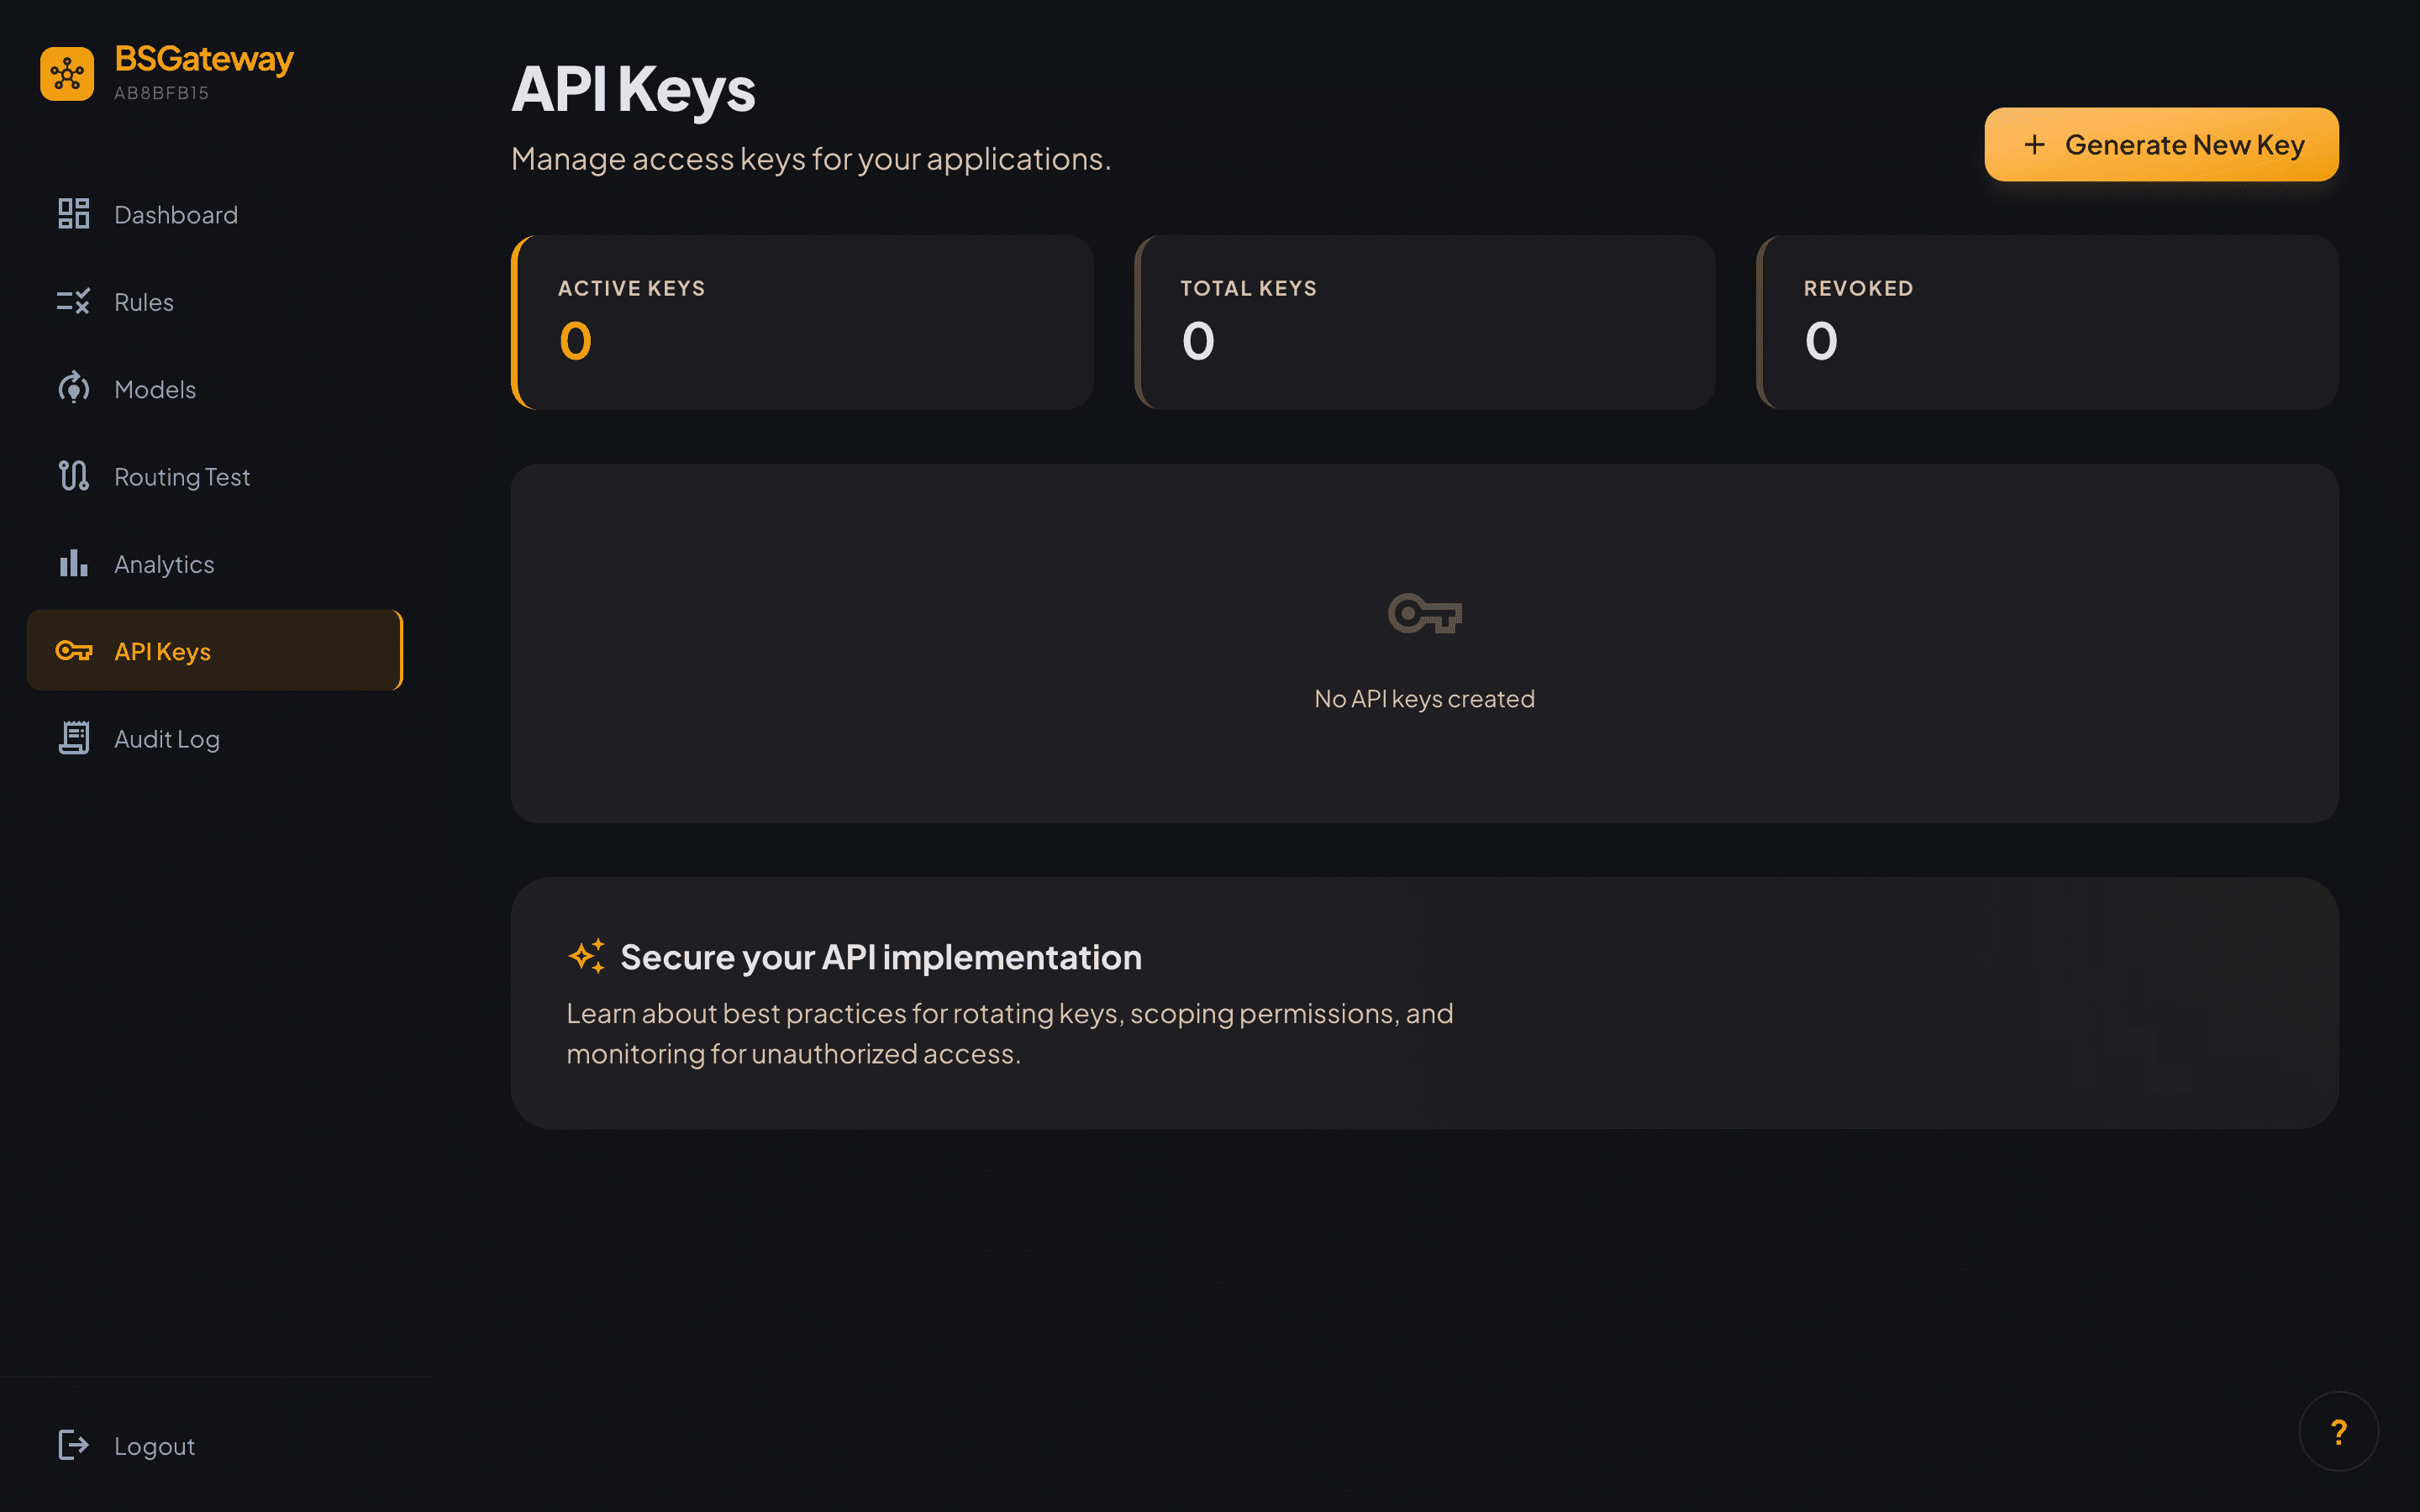
Click the Create API Key button and:
- Enter a key name (e.g.,
production,development) - Set a Rate Limit (maximum requests per minute)
- Click Create
Important: The API key is displayed only once when created. Make sure to copy it to a safe place.
Step 4. Make an API Call
Change only the base_url and api_key in your existing OpenAI SDK code:
from openai import OpenAI

client = OpenAI(
    base_url="https://api-gateway.bsvibe.dev/v1",
    api_key="bsg_your_api_key_here",
)

# Auto routing — BSGateway evaluates complexity and selects the optimal model
response = client.chat.completions.create(
    model="auto",
    messages=[{"role": "user", "content": "Implement quicksort in Python"}],
)

print(response.choices[0].message.content)
// Node.js / TypeScript
import OpenAI from 'openai';
const client = new OpenAI({
baseURL: 'https://api-gateway.bsvibe.dev/v1',
apiKey: 'bsg_your_api_key_here',
});
const response = await client.chat.completions.create({
model: 'auto',
messages: [{ role: 'user', content: 'Hello!' }],
});# cURL
curl https://api-gateway.bsvibe.dev/v1/chat/completions \
-H "Authorization: Bearer bsg_your_api_key_here" \
-H "Content-Type: application/json" \
-d '{
"model": "auto",
"messages": [{"role": "user", "content": "Hello!"}]
}'model Parameter Options
| Value | Behavior |
|---|---|
"auto" | The classifier evaluates complexity and automatically selects the optimal model |
"claude-sonnet" | Directly specify a registered model ID |
"fast" | Use a name registered as an alias |
Step 5. Verify Results
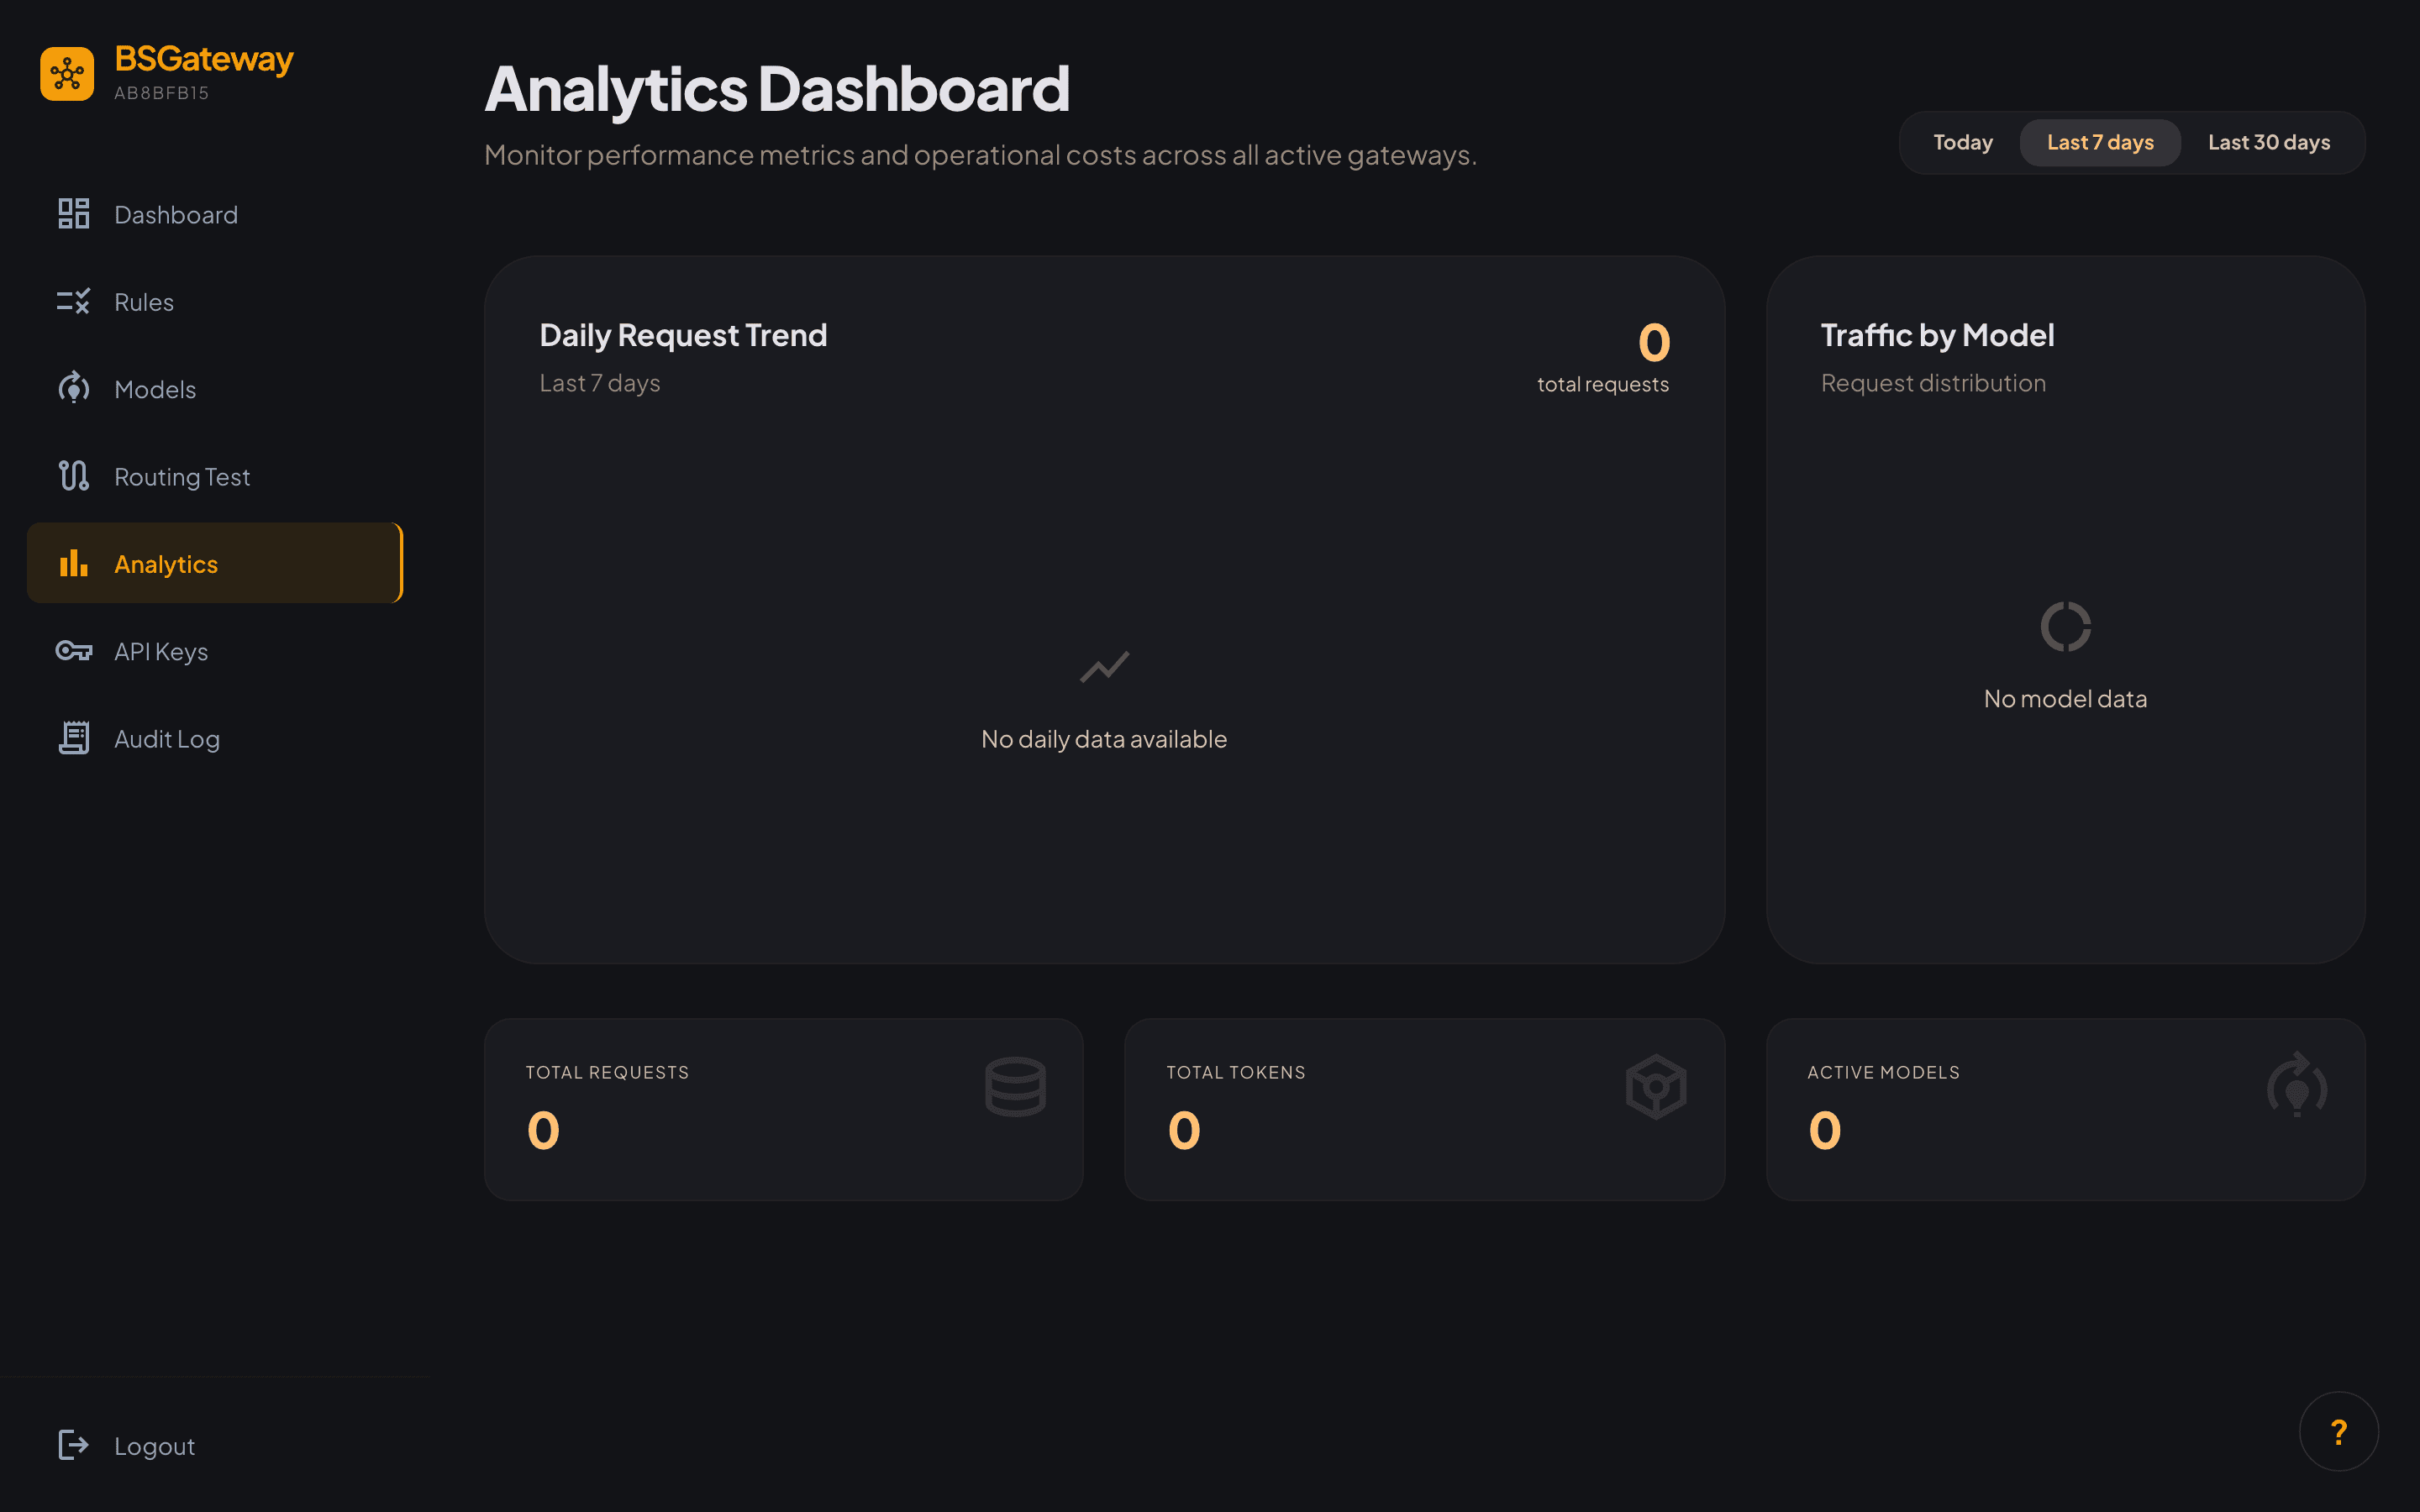
Go back to the Dashboard to see statistics for the request you just sent. Visit the Analytics page for more detailed usage and cost information.
Next Steps
- Core Concepts — The 4-stage routing pipeline and how the classifier works
- Routing Rules — Pattern matching, aliases, and auto routing configuration
- API Key Management — Rate limiting, key security, and usage tracking
- Configuration Guide — Model management, CORS, and API endpoint reference